Before diving in to maintenance work, make sure to complete your daily maintenance items. This includes checking that any recent fixes to your tractor are in place, lights are working, tires are up to pressure and rotating parts are tightened.
Once you've reviewed all these items and your daily maintenance checklist, ensure attachments and implements are lowered or detached.
The engine must be turned off and cool. Remember, hot components and liquids can cause serious burns. Get industrial-grade, lidded bins to collect waste liquids. Preferably, use one that you can send to a recycling facility for responsible disposal.
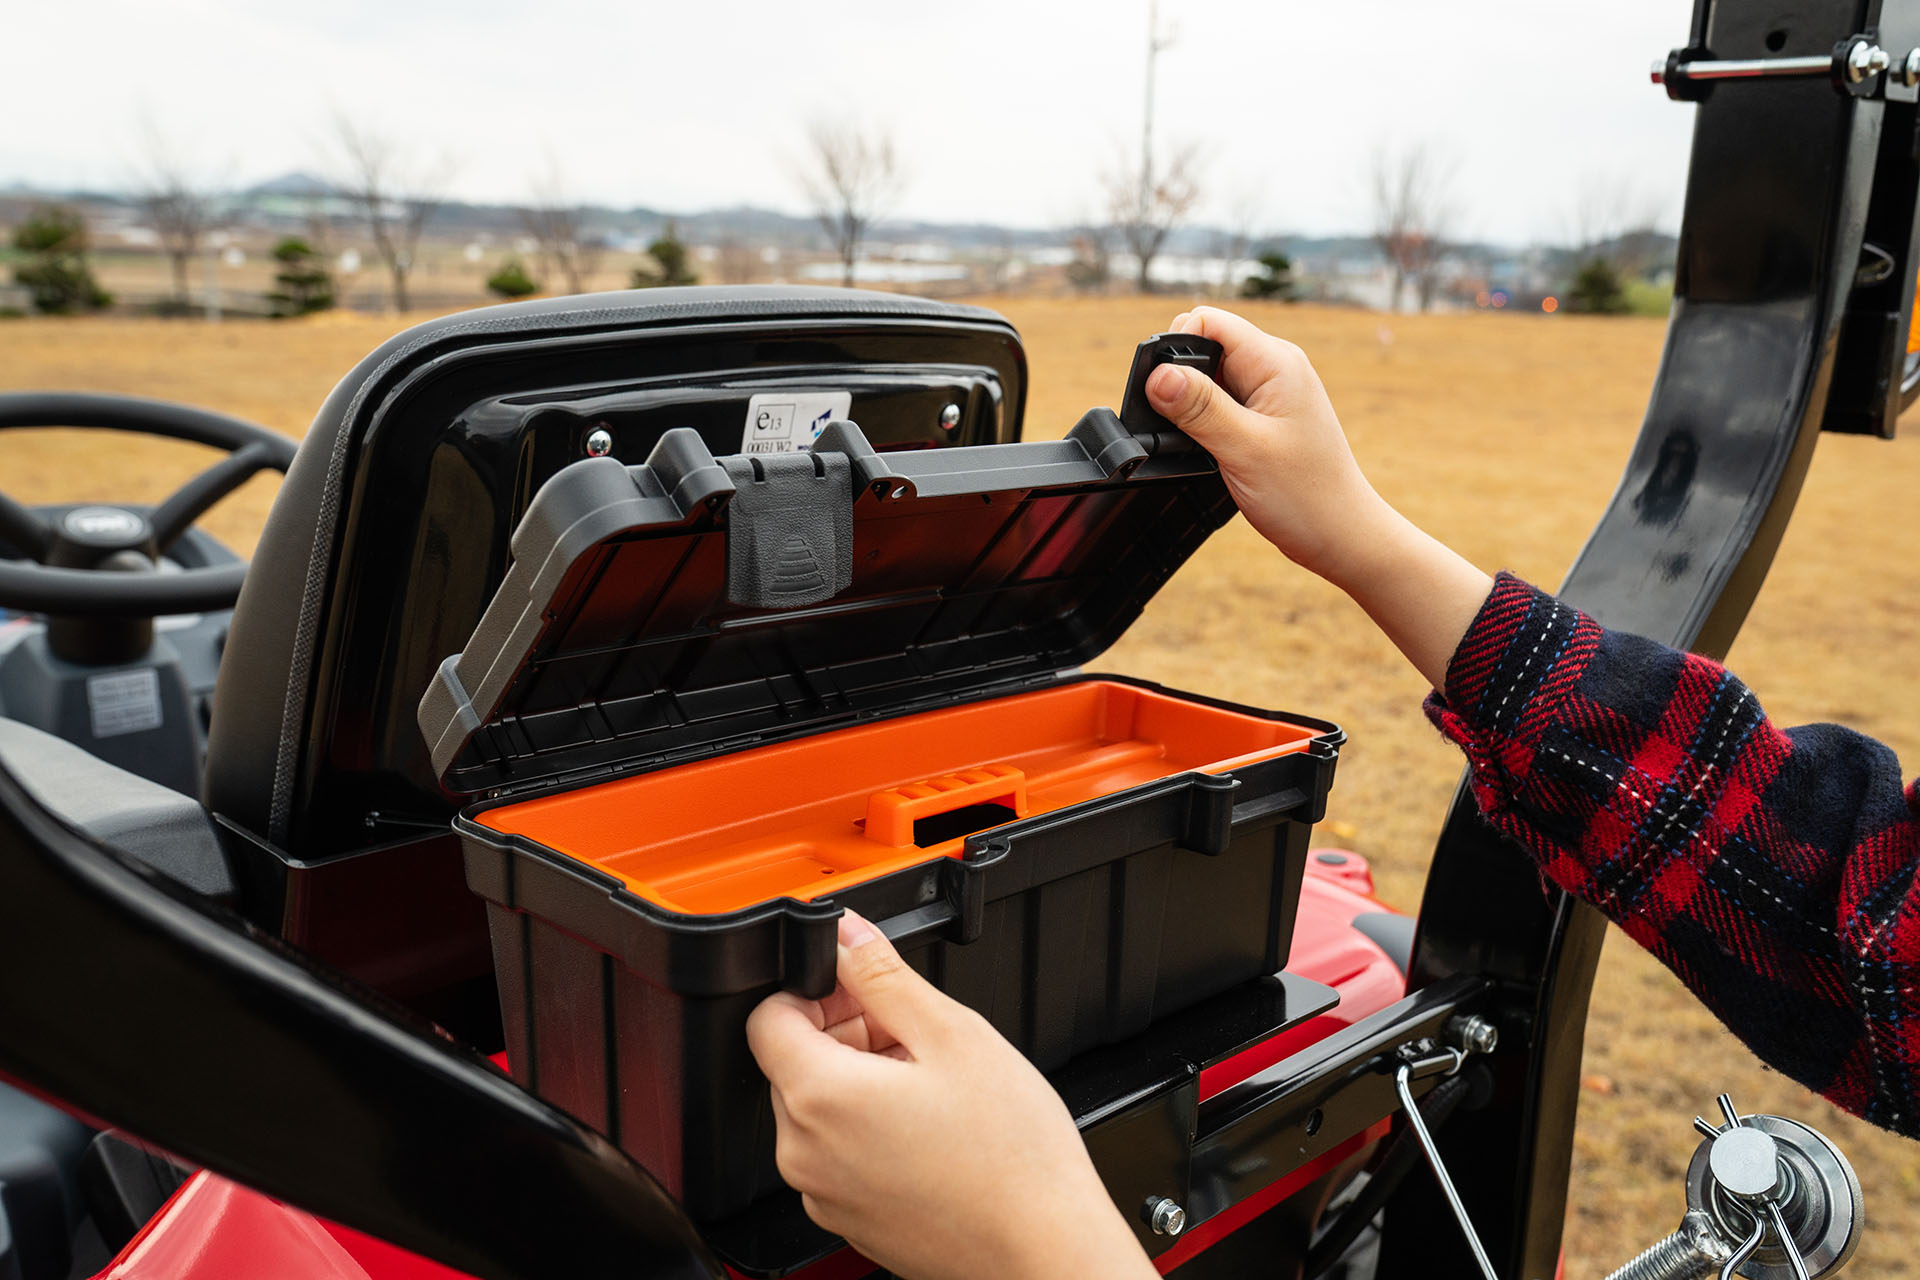
Now, put on safety gear, take a look under the hood and put the hood support in place.
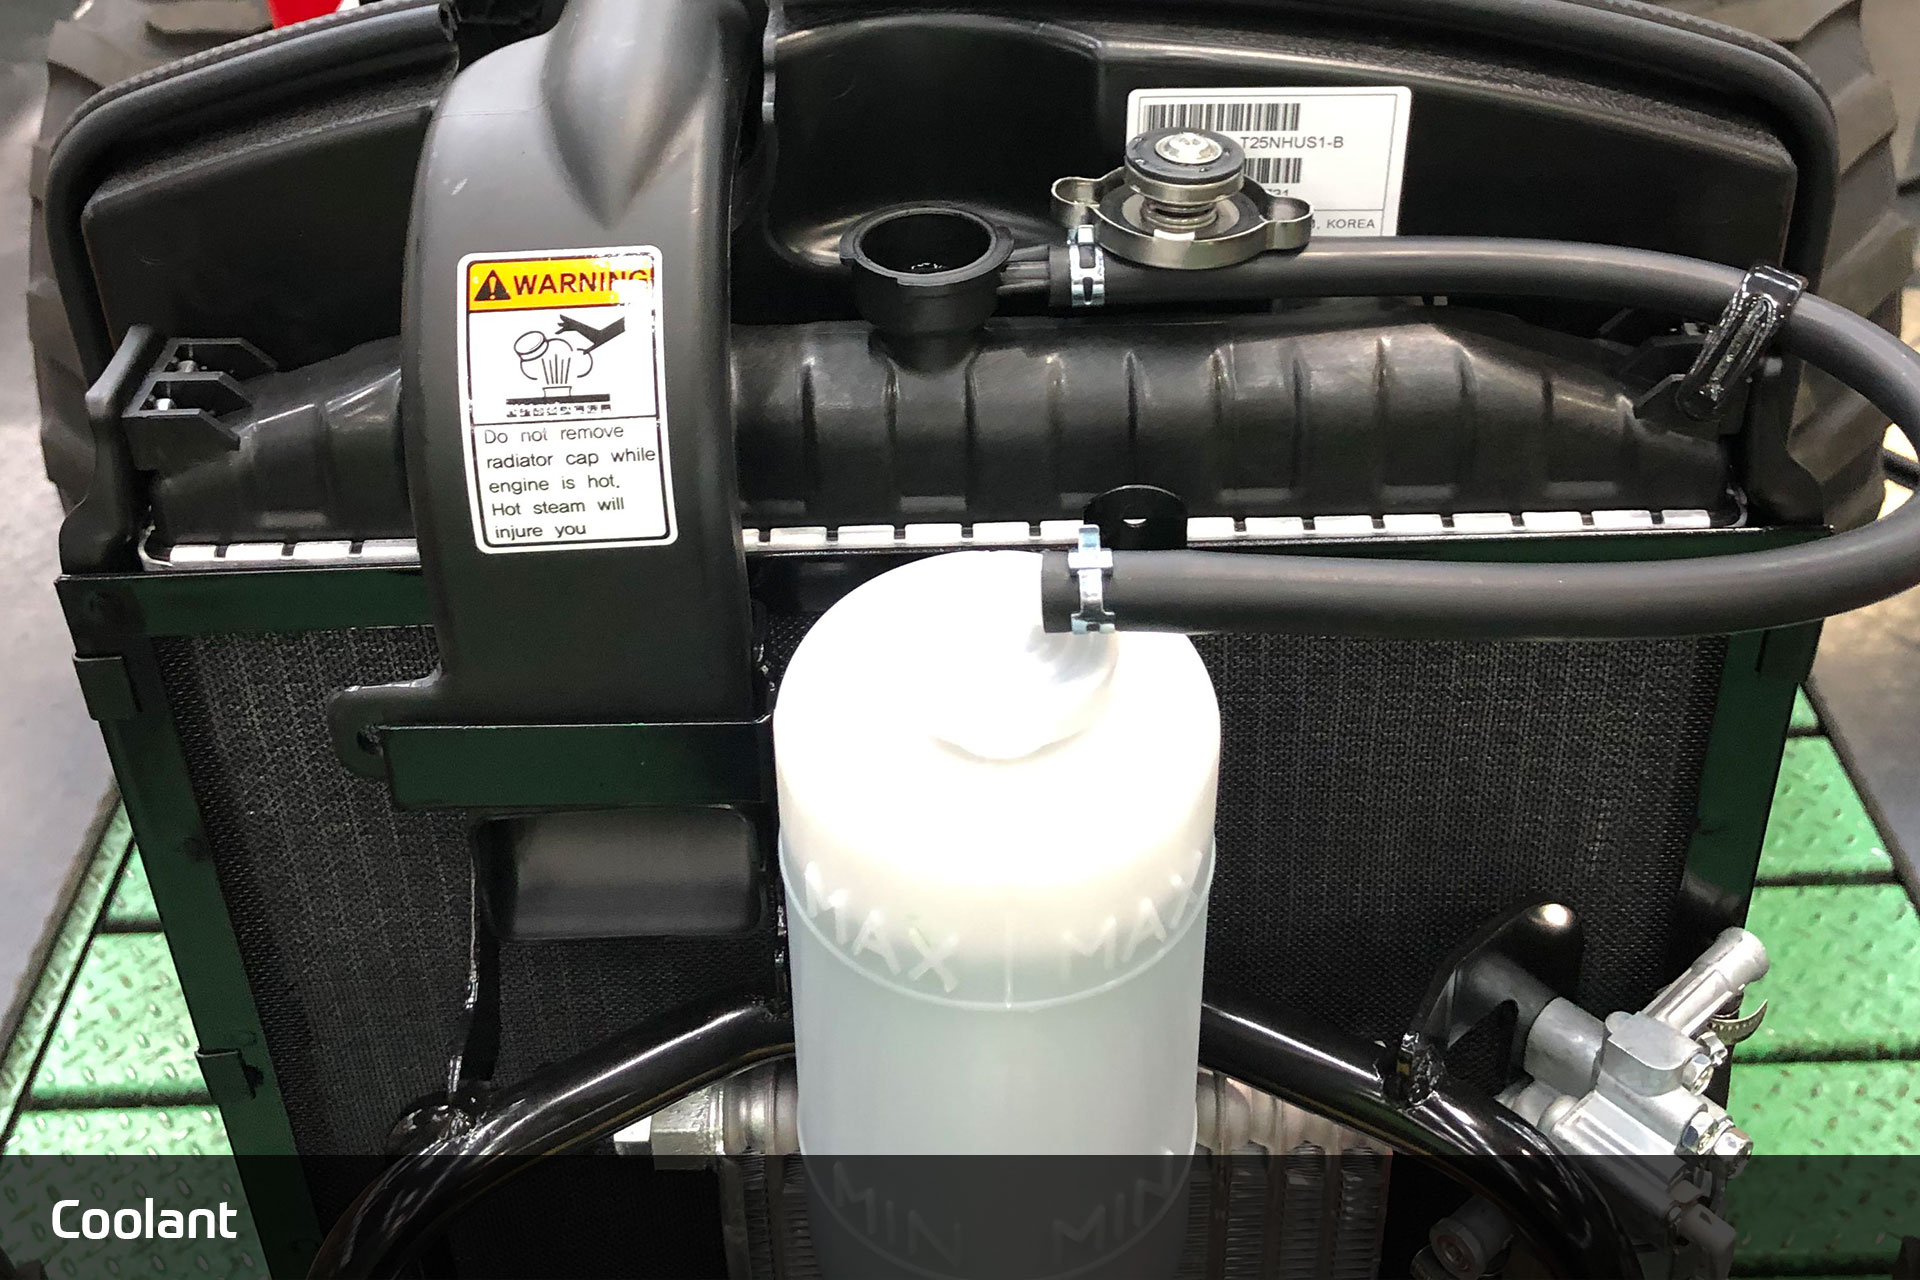
Coolant
Locate and open the radiator cap. If the coolant level is not up to the filter inlet, add more coolant.
To change your coolant, locate the drain cock and open it along with the radiator cap for faster draining. Wash the inside of the radiator thoroughly with clean water. Then, fit the radiator cock to add the coolant to the prescribed level. Finally, start the engine and idle for 5 minutes. Turn the engine off and when the engine is cool, top off the coolant as needed. If you have cold winters, make sure to add anti-freeze in the coolant tank. This is important to avoid the coolant freezing and damaging the engine.
Safety tips:
- If you see a clogged radiator screen, make sure to clean it to prevent the engine from overheating.
- In case coolant gets on your skin, flush the area with cool water and clean thoroughly with soap.
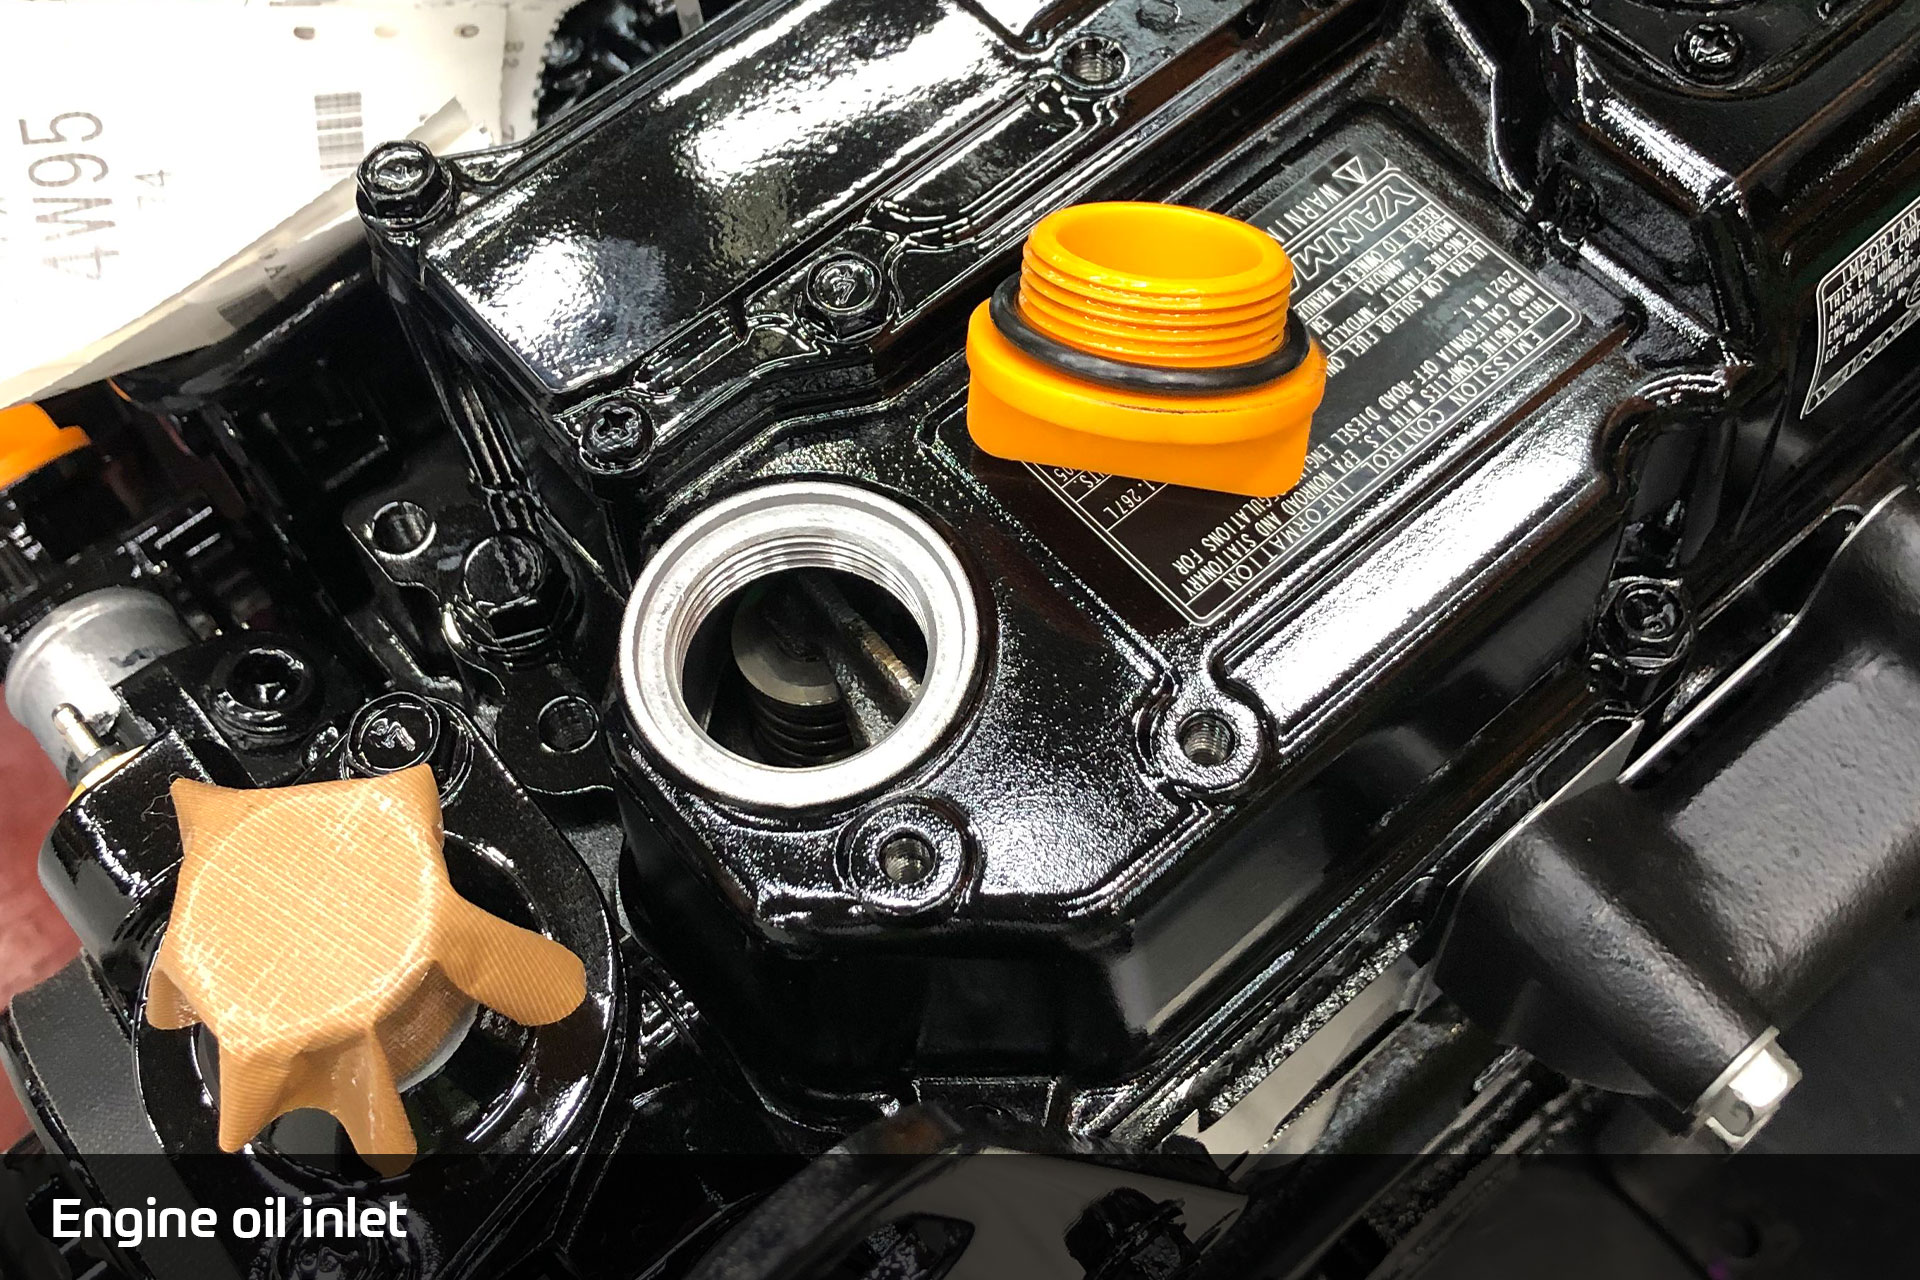
Engine
First, determine the engine oil level. Pull out the dipstick and wipe it clean to remove residual oil. Insert it and take it out again. Check if the mark falls between the minimum and maximum line, and add as necessary.
To change your oil, locate and unscrew the drain plug. Make sure the oil is drained thoroughly, especially if your replacement oil is from a different manufacturer, or has a different viscosity. Tighten the drain plug back into place. Finally, use the filler hole to carefully add engine oil to the correct level.
Safety tips:
- Keep a safe distance while draining oil. Hot oil will drain first.
- In case oil gets on your skin, flush the area with cool water and clean thoroughly with soap.
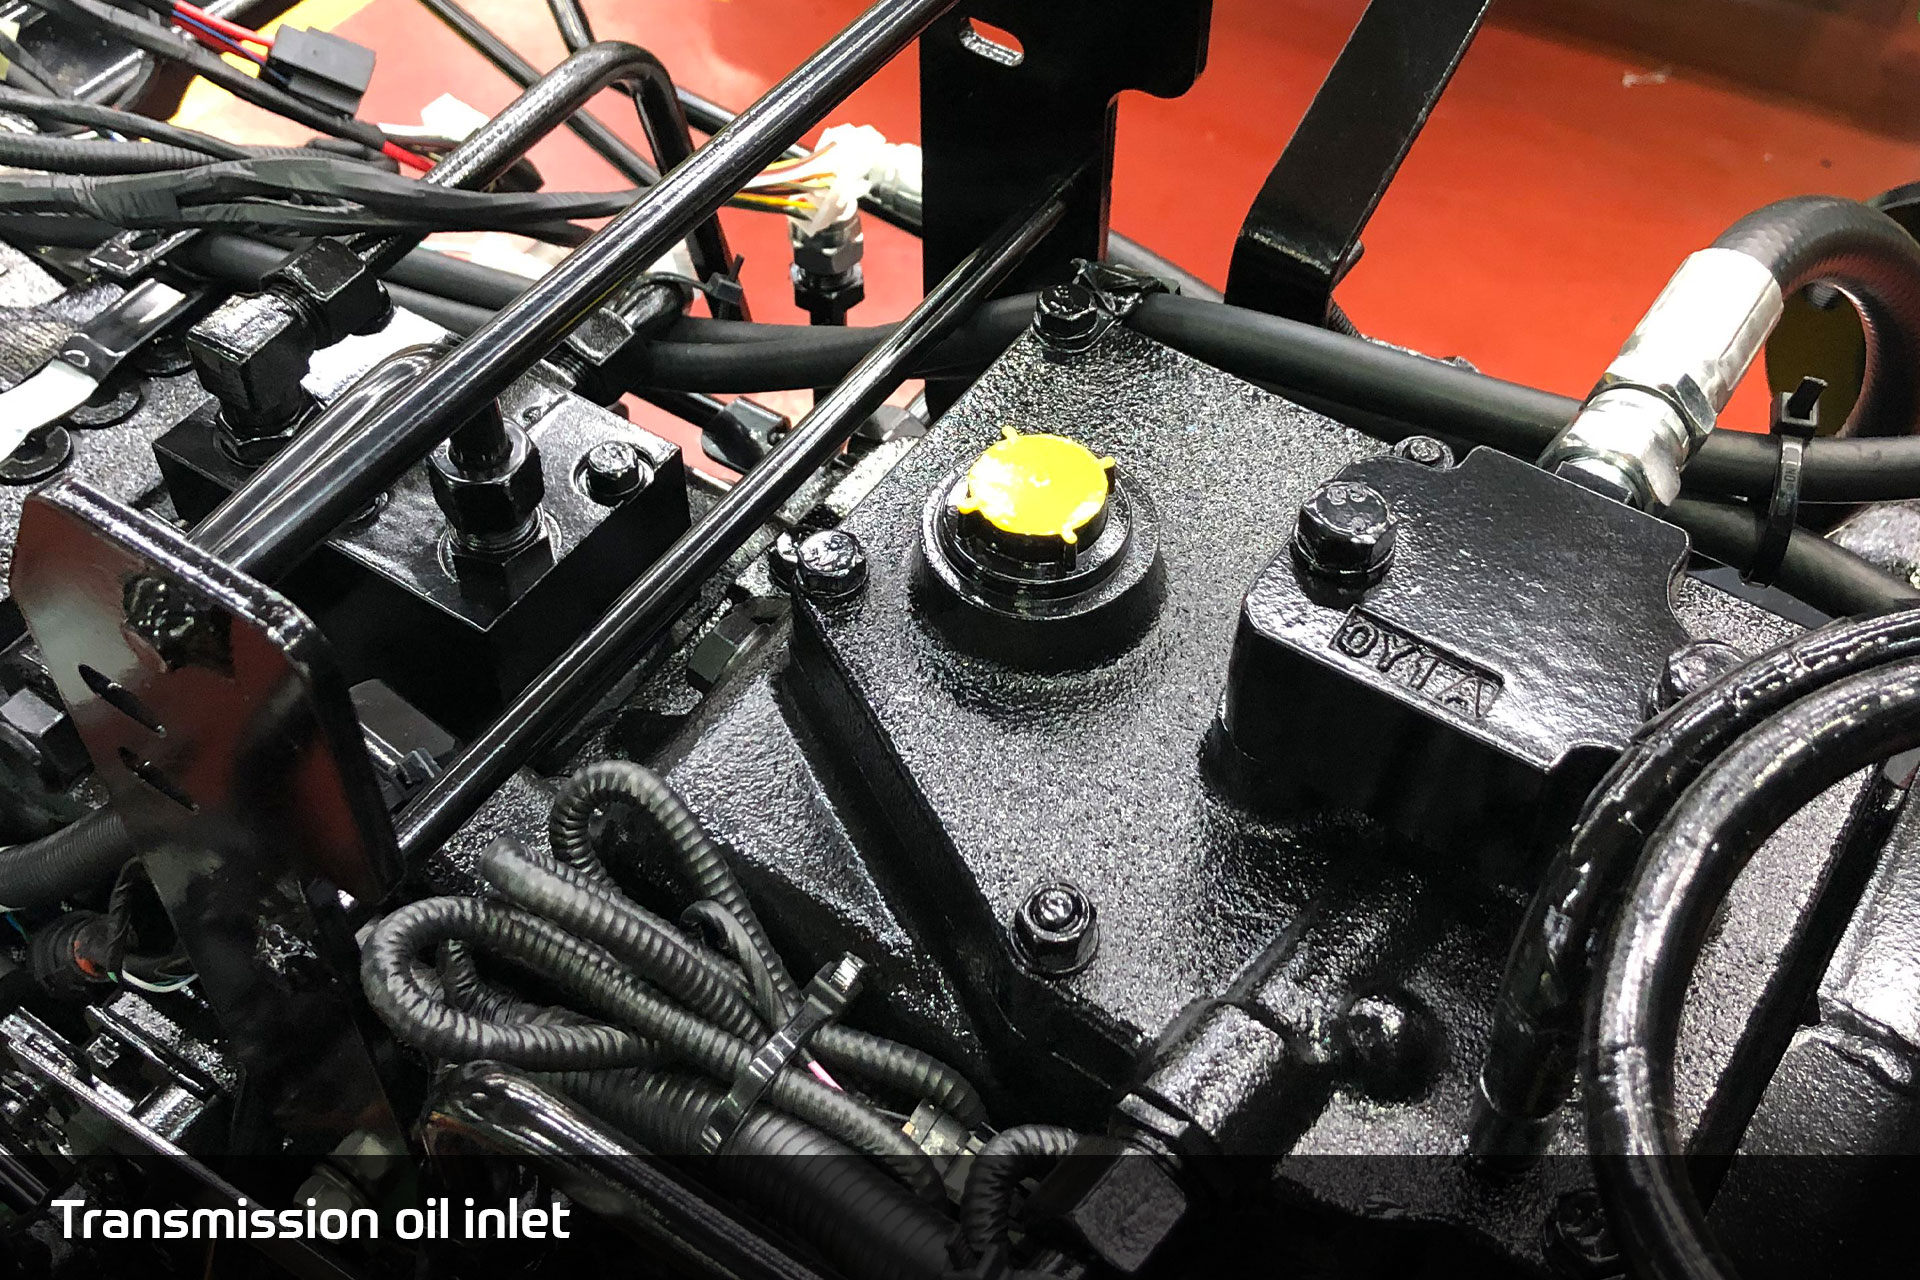
Transmission fluid
Use the sight glass to determine the transmission fluid level through the sight glass. If insufficient, add fluid till the indicator is between the upper and lower limits.
In case the fluid has become contaminated, you should change the oil. Start by unscrewing the drain plug. Once all the fluid has drained, tighten the plug back in place. Then add the specified amount of transmission fluid through the filler hole. If you are changing the brand or type of transmission fluid, make sure the previous oil has drained thoroughly before adding the new one.
Safety tips:
- Keep a safe distance while draining transmission fluid. Hot oil will drain first.
- In case oil gets on your skin, flush the area with cool water and clean thoroughly with soap.
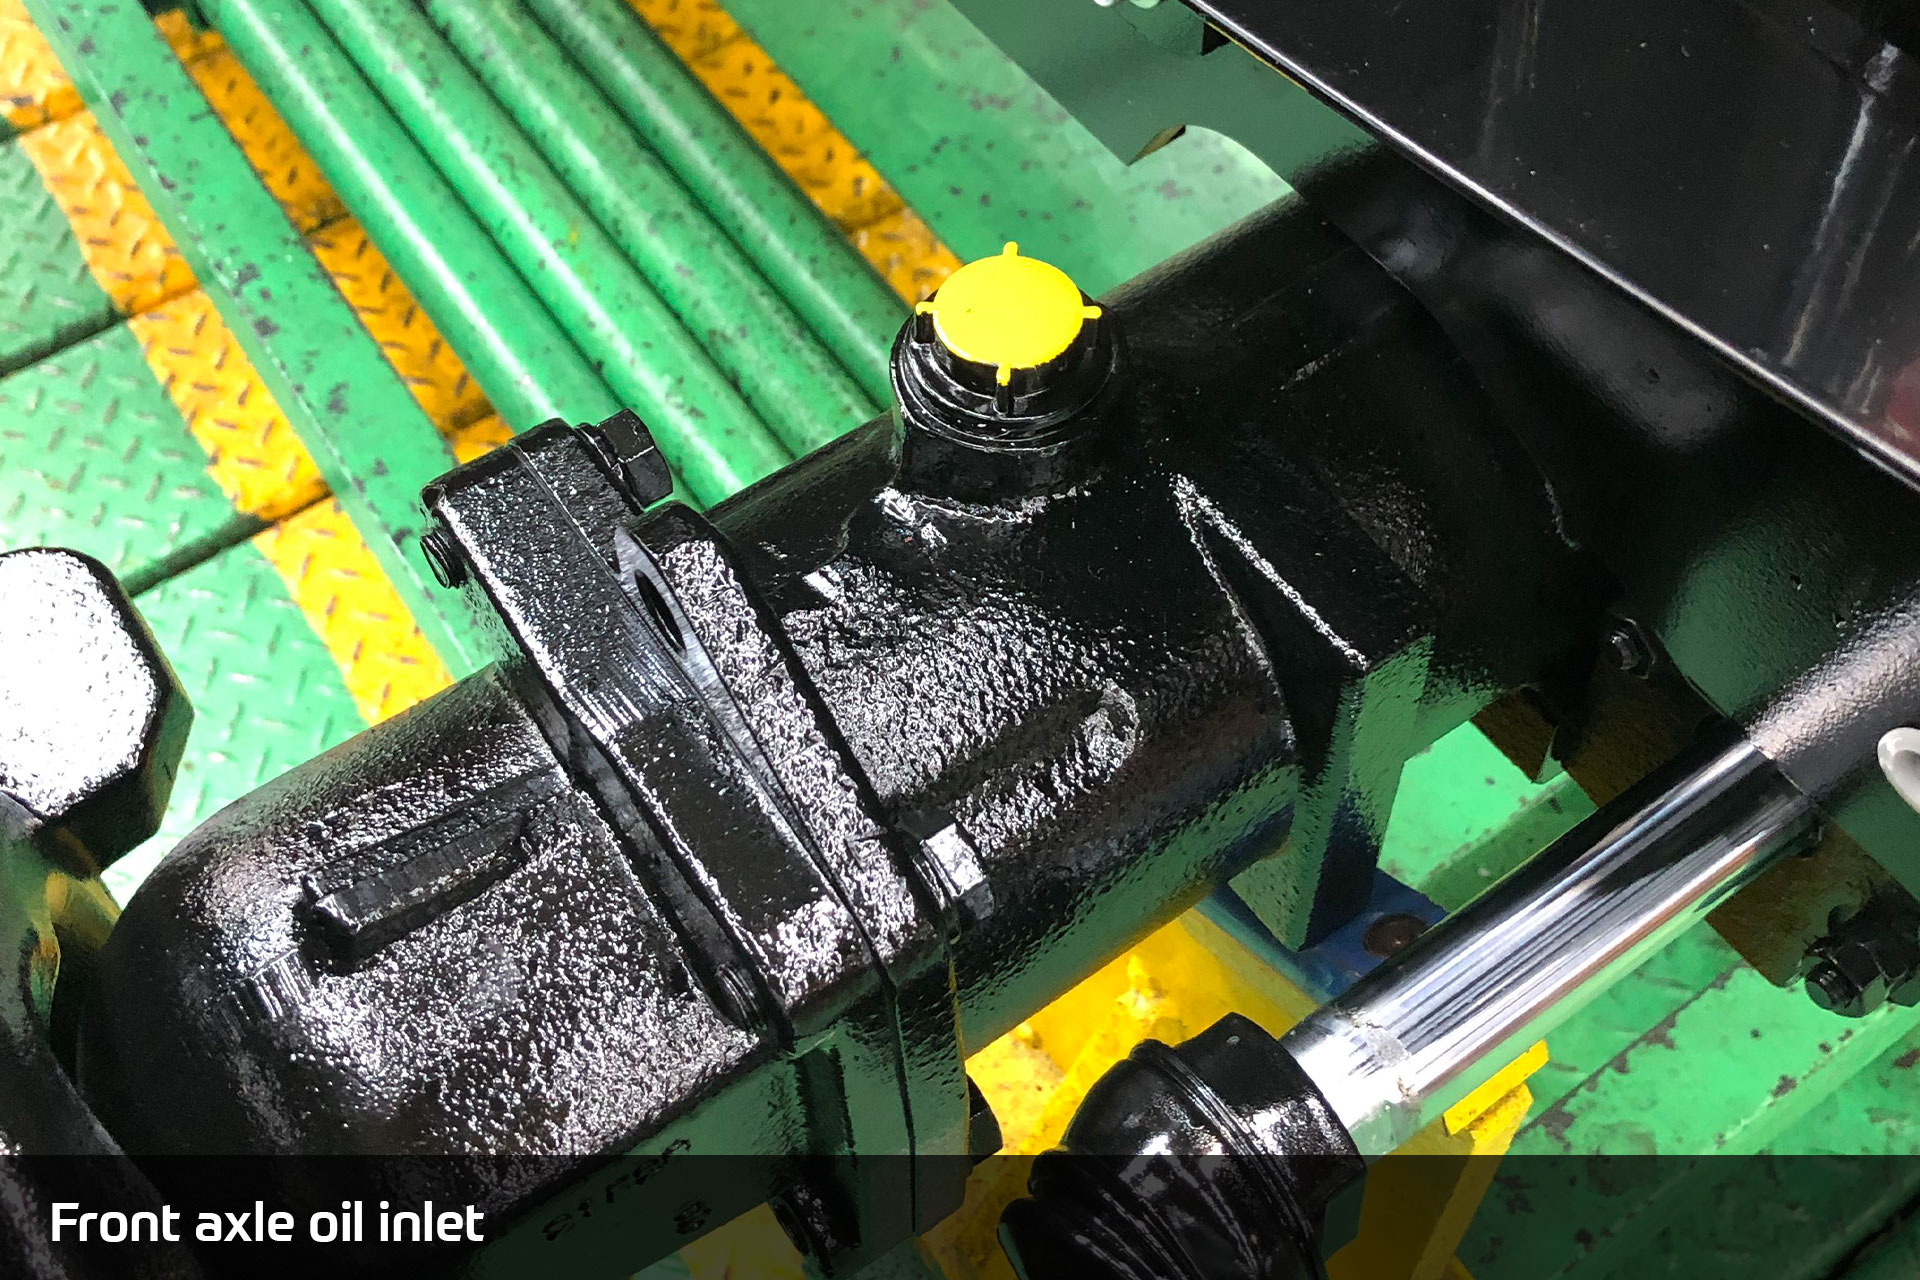
Axle oil
Similar to the engine oil, you first need to determine the axle oil using the dipstick. If the oil is insufficient, add oil as needed.
To change the oil, locate and unscrew the drain plug as well as the casing on the left and right. Make sure the oil is drained thoroughly, especially if your replacement oil is from a different manufacturer, or has a different viscosity. Tighten the drain plug and casings back into place. Finally, use the filler hole to carefully add axle oil to the correct level.
Safety tip:
- Before starting the engine, check the front axle oil. Or check within five minutes of stopping the engine. Top up if there is a reduction in the oil level and tighten the plugs as needed.
- Keep a safe distance while draining the axle oil. Hot oil will drain first.
- In case oil gets on your skin, flush the area with cool water and clean thoroughly with soap.
Filters and cartridges
Changing filters and cartridges on a routine basis can significantly enhance the working efficiency of your tractor.
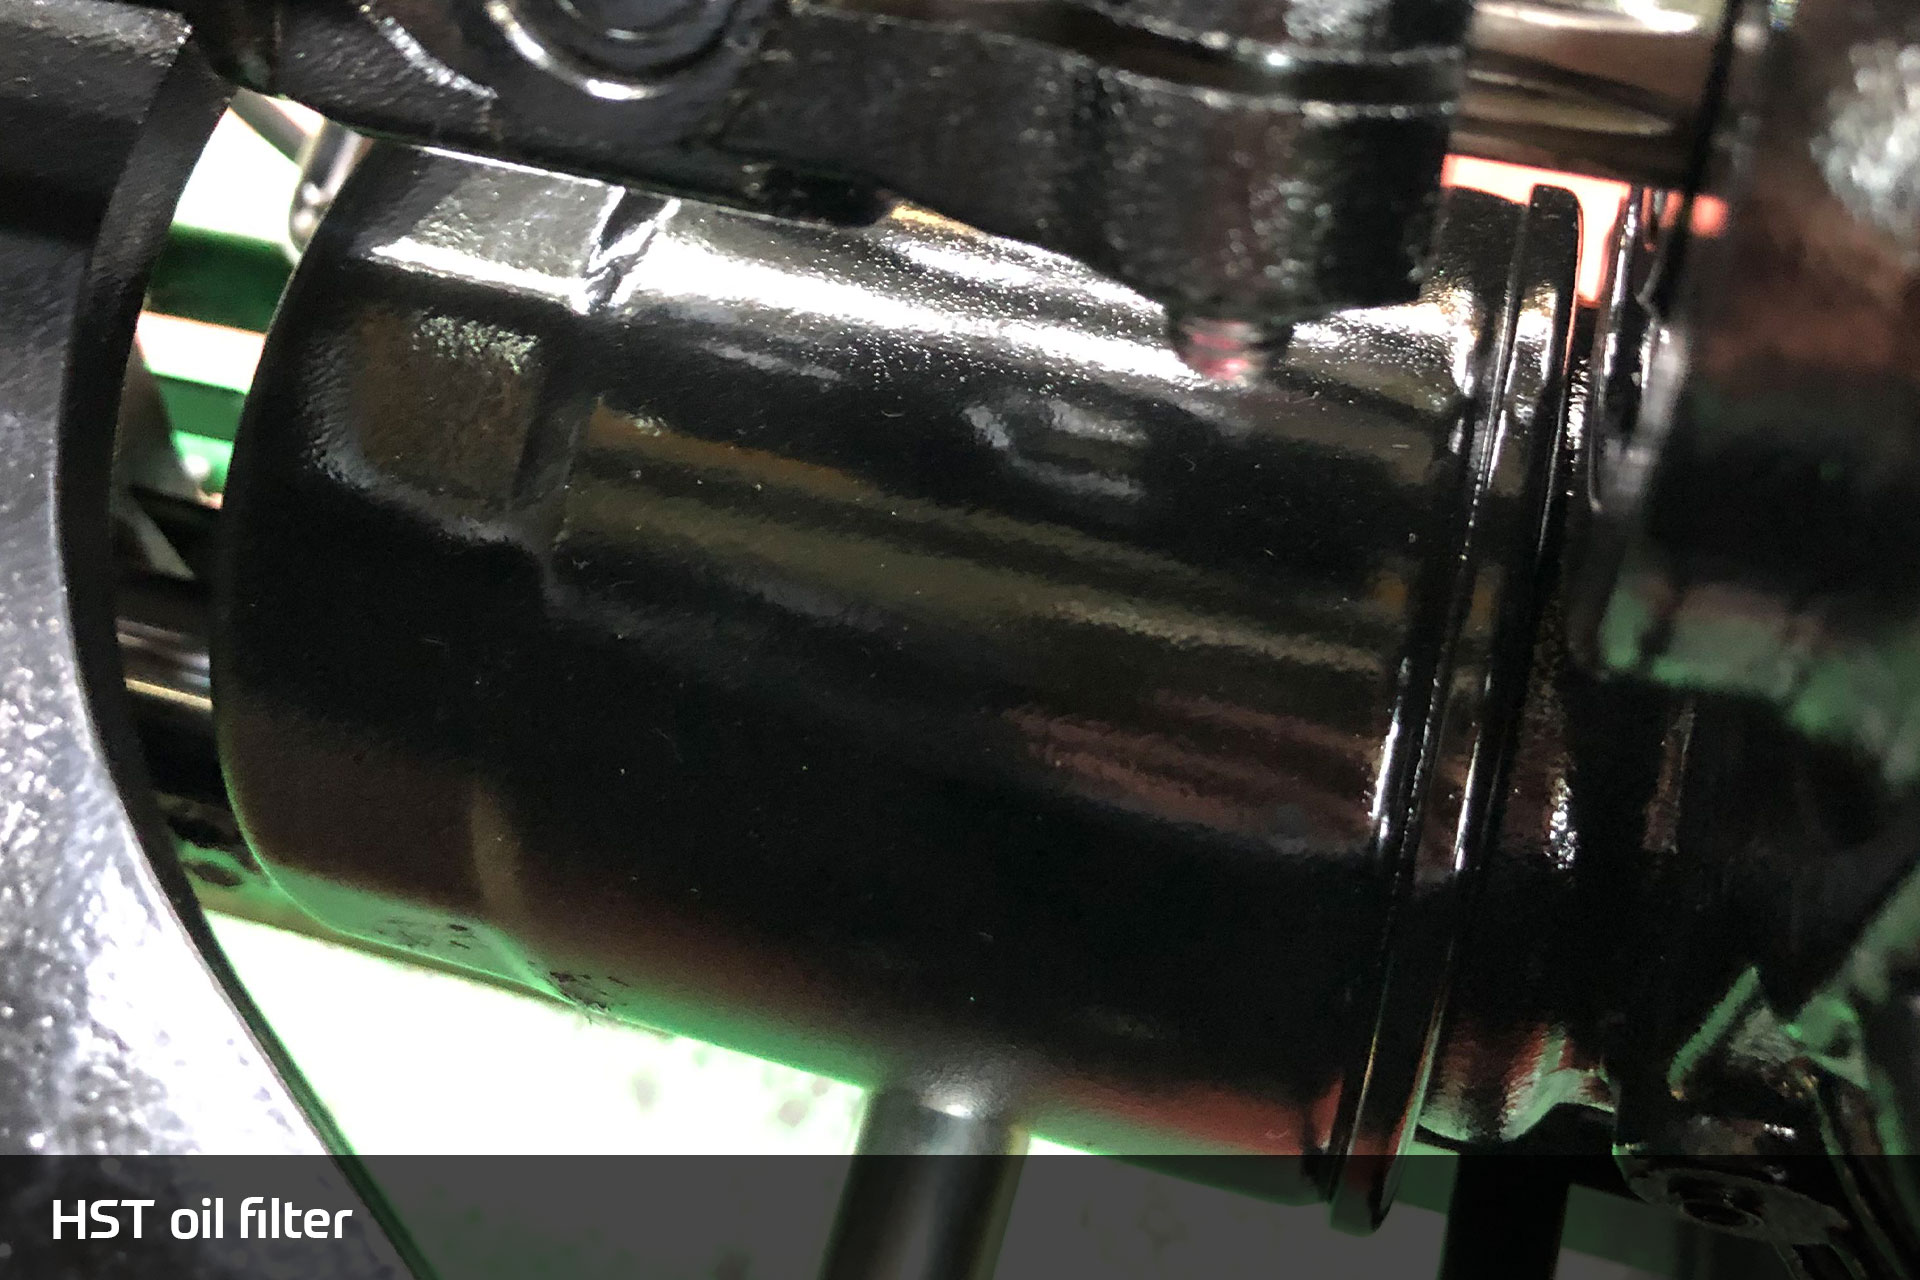
Start with the HST oil filter, located on undercarriage of your tractor. Turn the oil filter element counterclockwise with a wrench. Take a new cartridge and apply a thin film of oil to the O-ring. Then tighten it in place by hand. Use a wrench to tighten it further for two to three turns. Finally, add hydraulic oil to the specified level and use the dipstick to see if more oil needs to be added.
Next, clean the transmission strainer. Unscrew the filter body support bolt from the right lower section of the rear transmission case. Then gently pull the filter out and clean with diesel fuel before putting it back in place.
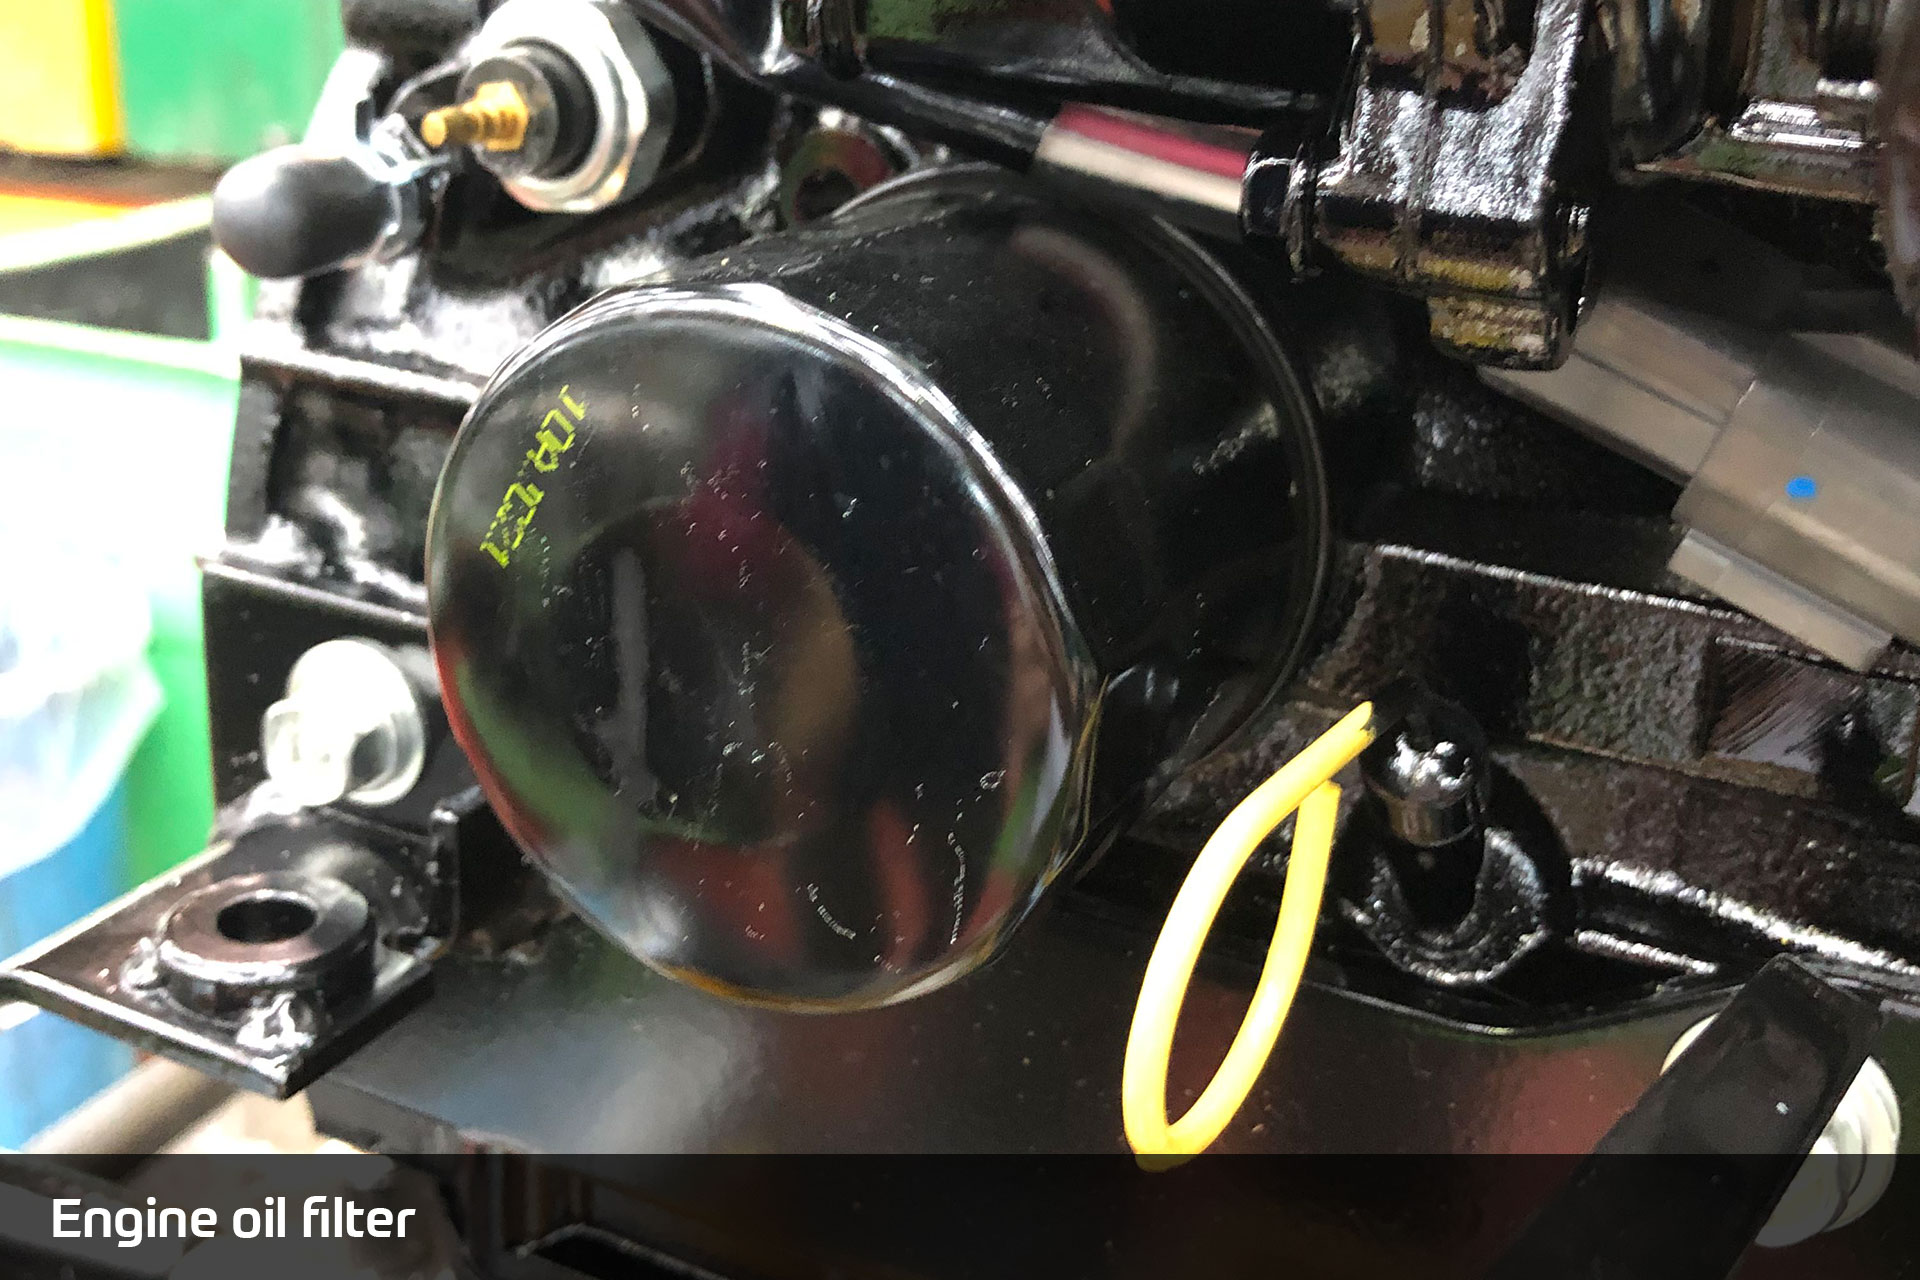
To replace the engine oil filter, follow the same steps as the HST oil filter. Once the new filter is in place run the engine for approximately 5 minutes to ensure the warning light does not active. Then shut off the engine.
Fuel system
Make sure you are always using a low sulfur or ultra low sulfur fuel. Replace the fuel if you notice contaminants like dust, sand or water to prevent deterioration in performance of the fuel pump. Add quality fuel through the strainer.
If your engine stops due to lack of fuel, or you remove or replace a filter line, bleed the fuel system to remove any trapped air. First locate and unscrew the bleeding screw and start the engine. Once a clean and consistent flow of fuel comes out of the screw, switch off the engine and tighten the screw back in place. Repeat as needed.
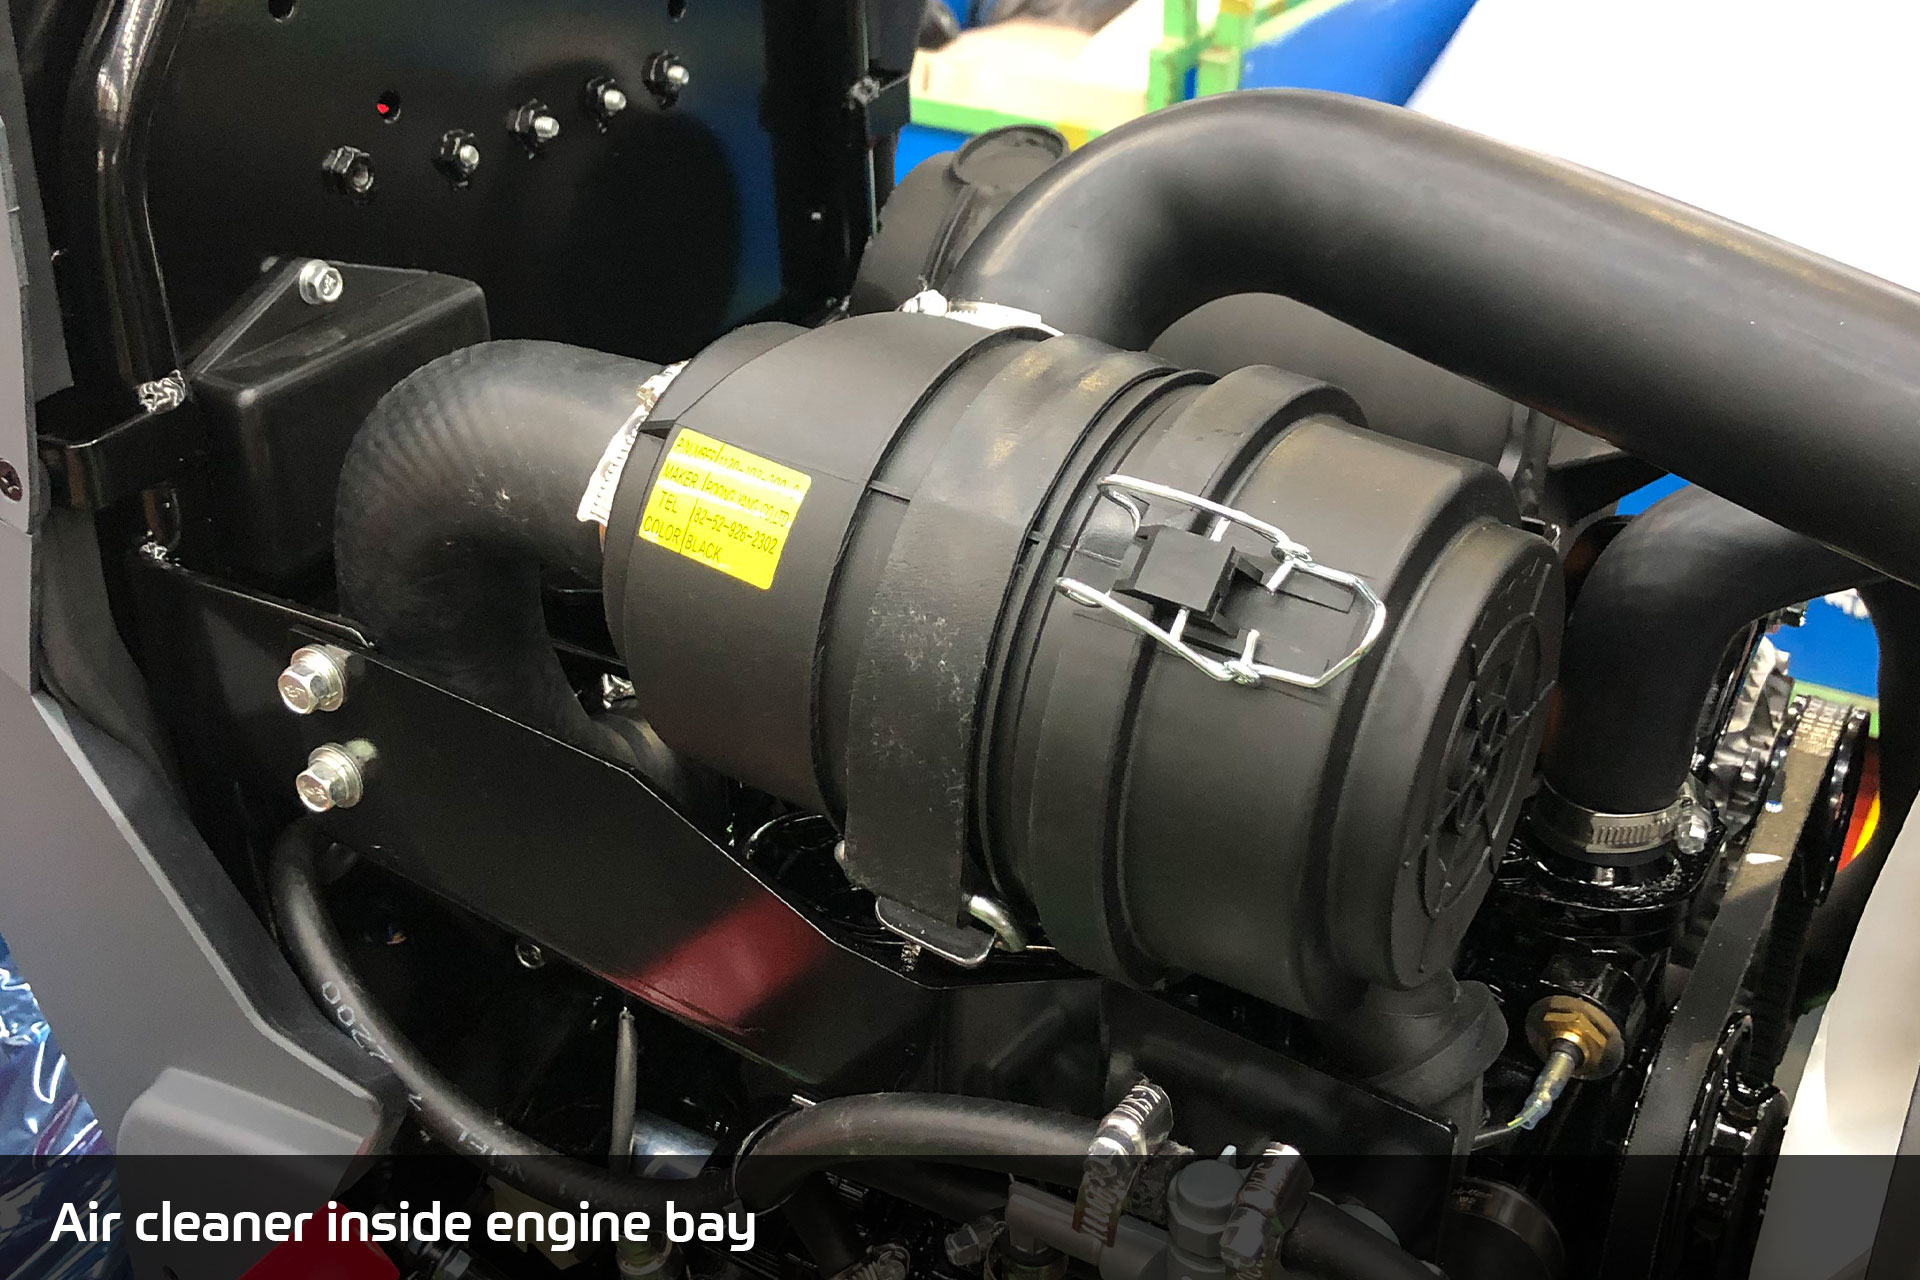
Air cleaner
Pull out the valve by hand and remove the dust from the housing. If the filter is dirty or watery, wipe it down with a dry rag before fitting it back. Make sure you are using an air cleaner that is made for your tractor and that it remains dry and without oil.
Use pressurized air to blow out the dust from the filter. Keep the nozzle at a distance from the surface of the filter and blow air from the inside, outwards.
If you have cleaned your filter more than five times, or if the filter appears damaged, replace it with a new one.
Safety tips:
- Never operate the tractor without the air cleaner installed
- When cleaning, ensure that no elements are being hit against a hard surface like rock or concrete
- Tighten each part of the air cleaner securely to prevent dust from entering
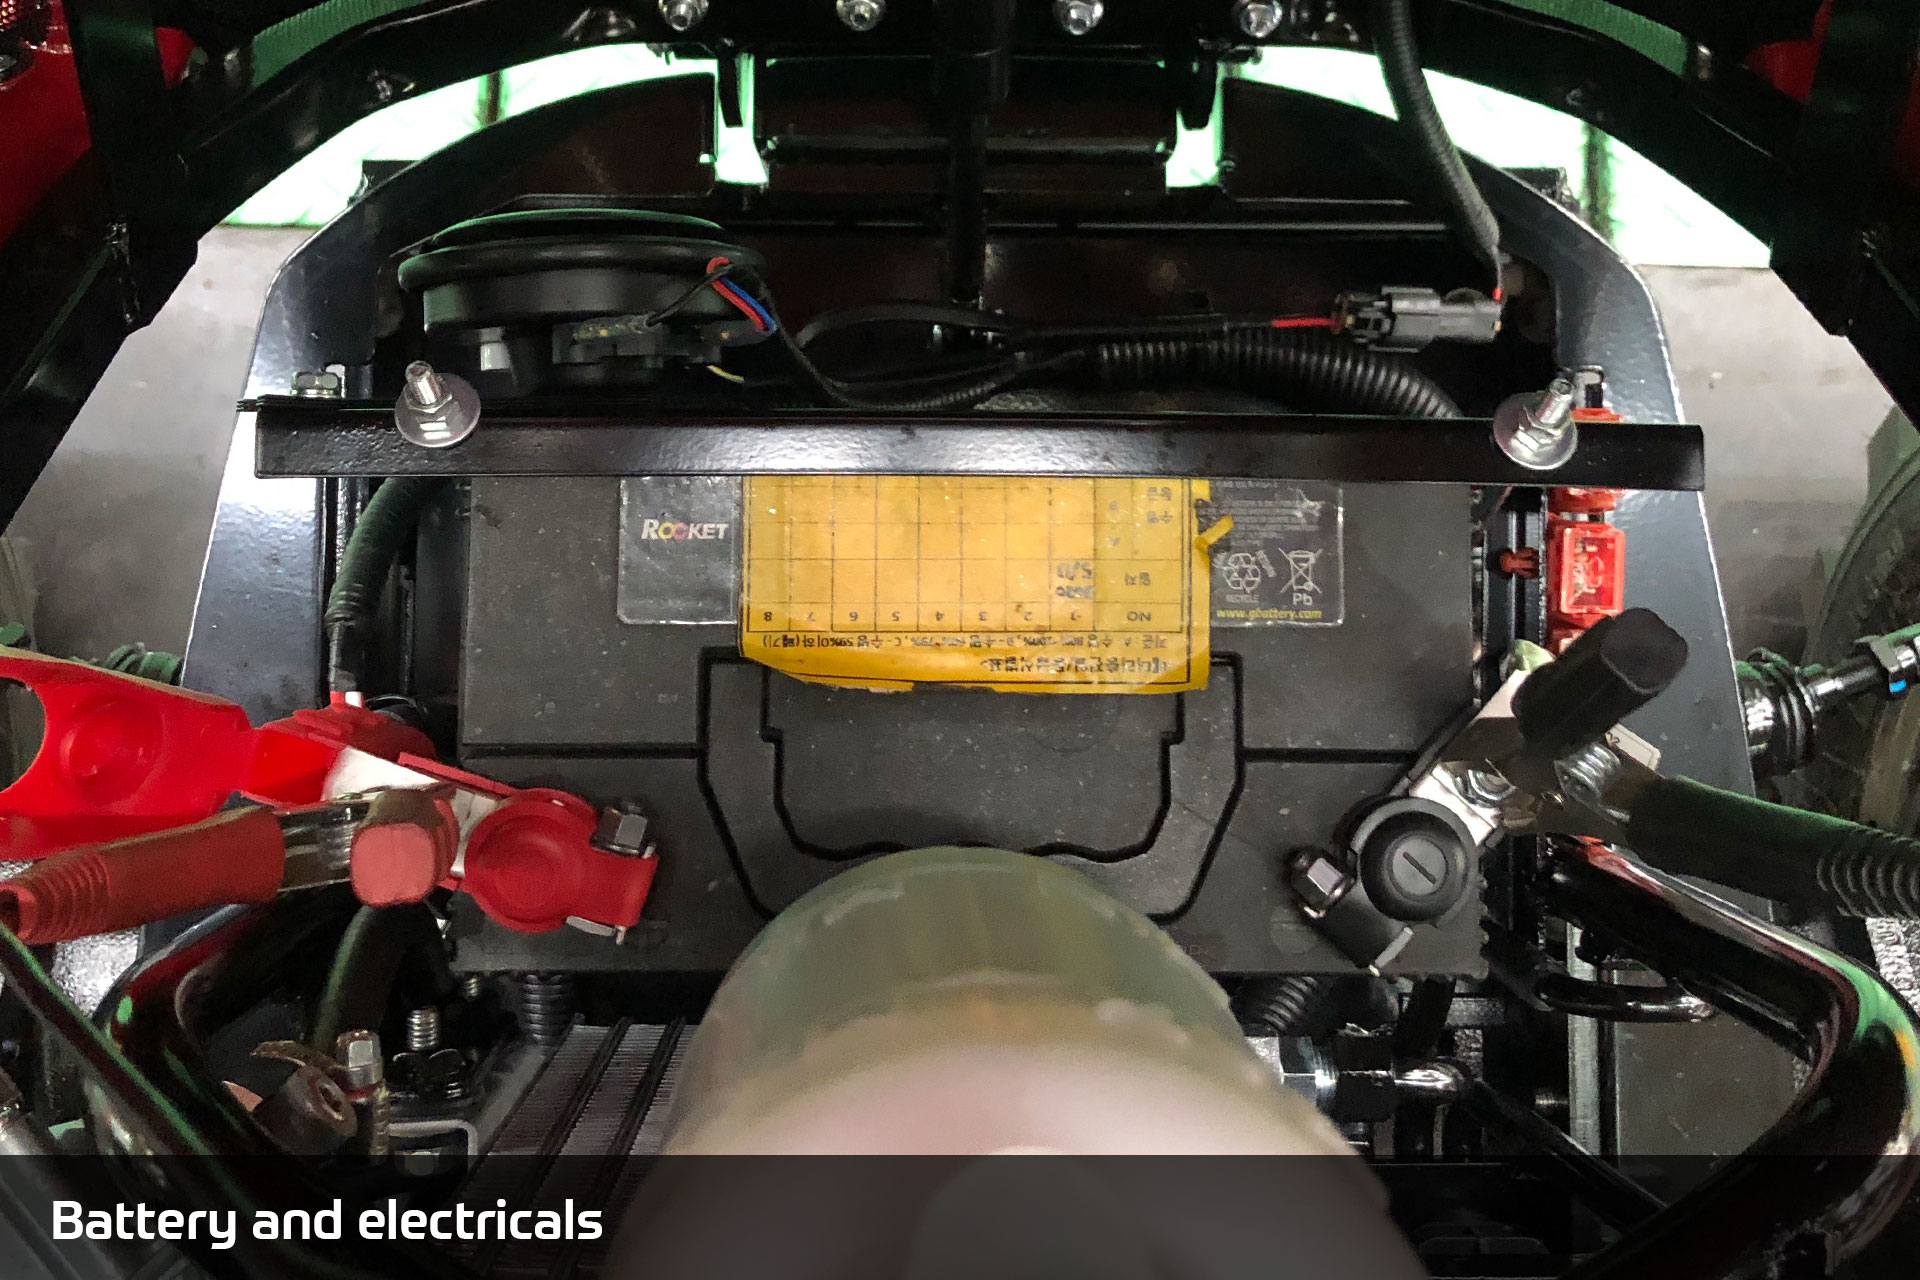
Electric system
Inspect, check and maintain your entire electrical system. This includes the battery, the wiring, the fuse box, lights and lamps.
- Battery
Start by checking your battery. If it is corroded or covered with contaminants, the battery will not deliver current. Wipe away any corrosion with a brush or sandpaper. If you have not used your tractor in over two weeks and the charge indicator shows a red or white color, you will need to charge your battery.
To charge your battery, make sure the ignition switch is in the off position and remove the battery from the tractor. Follow typical charging procedure, connecting correctly to positive and negative terminals. Charging should not be too quick and the current should be below 10 A.
Safety tips:
-
-
- Always charge your battery in a well ventilated area, as charging produces flammable hydrogen gas. Keep flammable items and spark away from the battery.
- Get medical attention immediately in case you make contact or swallow battery electrolytes. Meanwhile, rinse the affected area thoroughly with water, or drink plenty of water if swallowed.
-
- Electrical wiring
Wiring in your electrical system should be in place and in good condition to avoid contact failure, damage, deterioration of electrical devices, short circuits and even fire.
If wiring sheaths have peeled off, wrap the wiring with insulated plastic tape. If there is damage to the fasteners or bands, replace them using clamps. Have wirings checked by your workshop once a year regularly to avoid fire. - Fuse box
The tractor fuse box helps prevent any possible accidents in cases of wiring malfunction. In case you spot any malfunction in electrical functions of your tractor, check for a blown fuses.
First, remove the cover of the fuse box and remove blown fuses. Use a fuse with the same rated capacity, as indicated on the cover of your fuse box.
Safety tip:
-
-
- Never use a fuse with a different capacity as these can lead to overheated wiring and fires. For the same reason, never use a steel wire or foil instead of a fuse.
- Never use a fuse with a different capacity as these can lead to overheated wiring and fires. For the same reason, never use a steel wire or foil instead of a fuse.
-
- Lights and bulbs
Using the window, see if the fuses for your lamps are blown. If a lamp does not come on by operating the corresponding switch, check the corresponding fuse. If the fuse is intact, the bulb likely needs to be replaced. Confirm the bulb is blown by looking at the filament. If it is blown, replace it by using a new bulb of the same capacity.
Greasing
Greasing is important to keep the moving parts of your tractor in good working condition and improve longevity. Always grease the tractor before working on a wet field to repel water droplets and prevent rust. Use the supplied grease gun and operator’s manual for your tractor to grease all the right points.
In addition to the general greasing points, make sure to grease the brake arm. First, remove the rubber caps on the floor and dash panel to access the nipple and grease.
Belts, hoses and tires
Ensure you check and adjust the tension of your fan belt regularly. Unscrew the alternator mounting bolt slightly and move the alternator to adjust the tension. Check the tension of the belt with about 22 pounds of force. Deviation of about 0~0.6 inch is acceptable.
With the engine off and cooled down, check the fuel hose, air cleaner hose and radiator hose under the hood. Make sure there is no damage or leaks. Tighten the clamps.
Check the tire pressure on your tractor and top off to specifications, whether it is turf, agricultural or industrial.
View our table for maintenance based on hour mark.
When to get help from a TYM dealer
Prevent failure and get maintenance done right. Contact your dealer if:
- Your tractor is showing a warning alert
- The coolant in your engine has frozen
- The radiator fin is deformed
- Rubber parts like hoses have been used in over two years
- Fans, hoses and belts are damaged or loose
- Wheel treading needs to be adjusted, or tires are worn out
- Electrical systems and wires have not been professionally inspected for over a year